Load delivery through Mobile Driver App
Plan
I. Navigation information
II. Trip workflow
I. Navigation Information
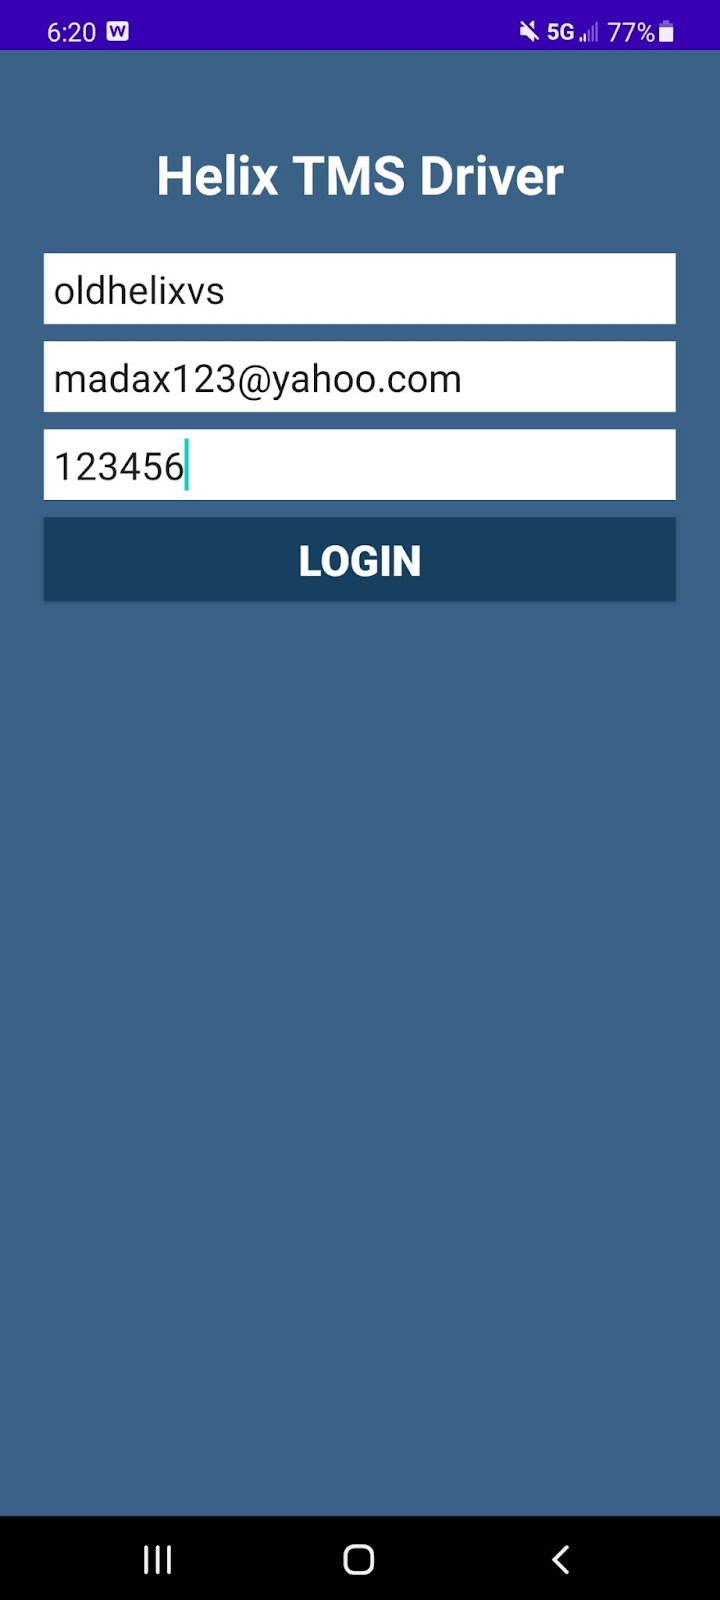
Login into your Helix TMS Driver Application using credentials provided by your Manager.
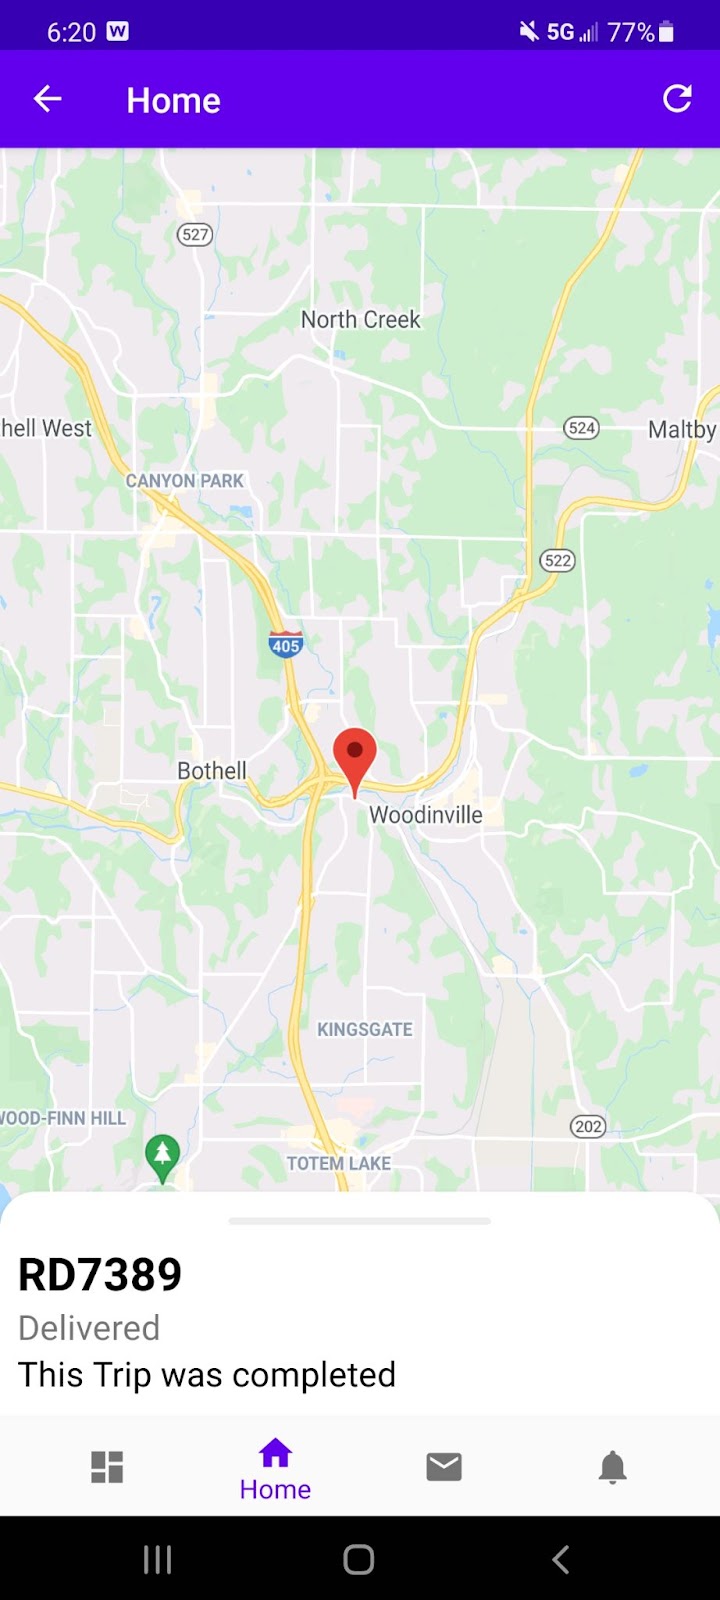
2. After successfully logged in, you will be on Home page and see map with your current location and menu at the bottom
3. First menu button on the left includes Trips, Inspections, Request Repair, Request Roadside, Fuel Map information
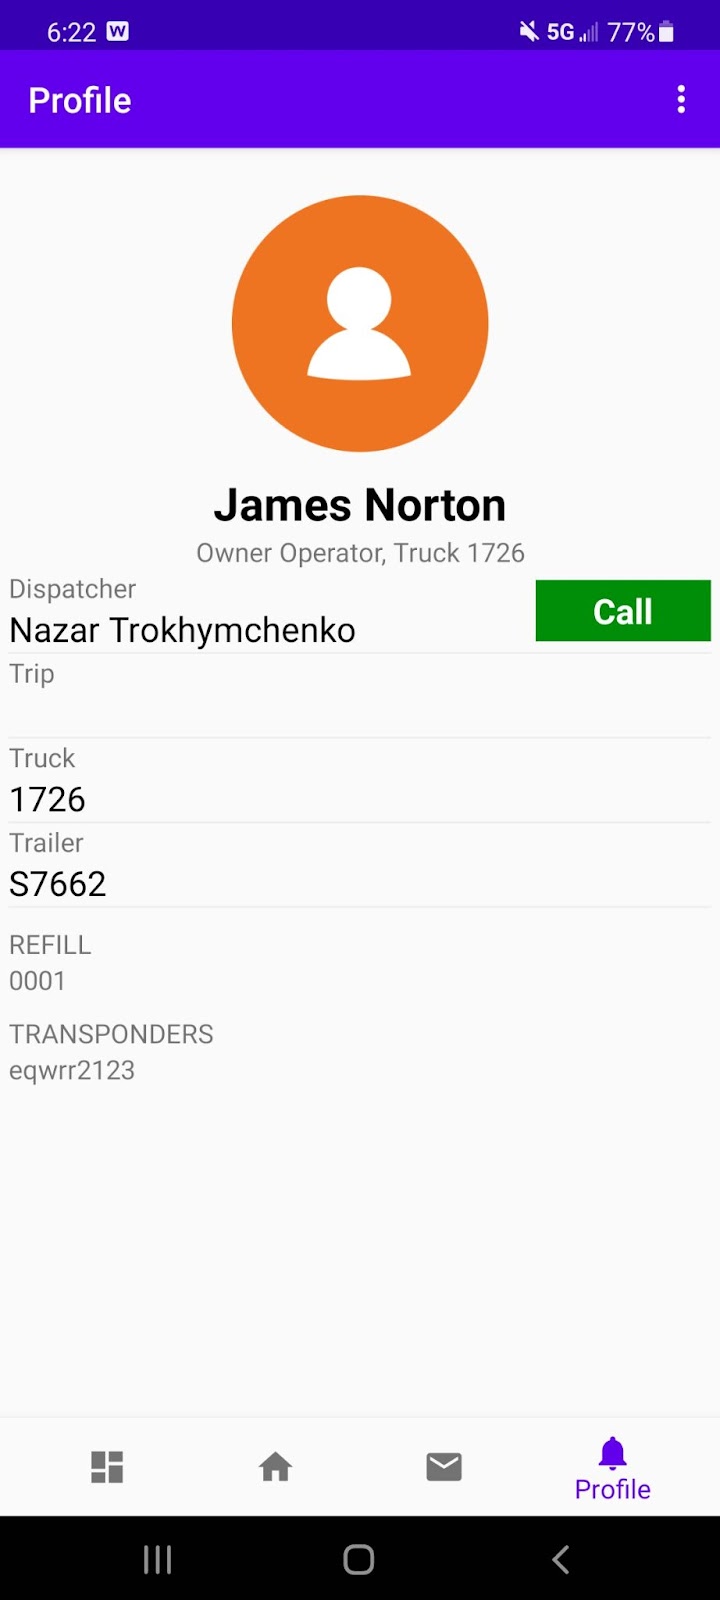
4. Next button includes Driver information, such as: Driver Name, Contract, Dispatcher, Call to dispatcher button, Trip number, Truck, Trailer, Fuel card and Transponder (Ipass) Number.
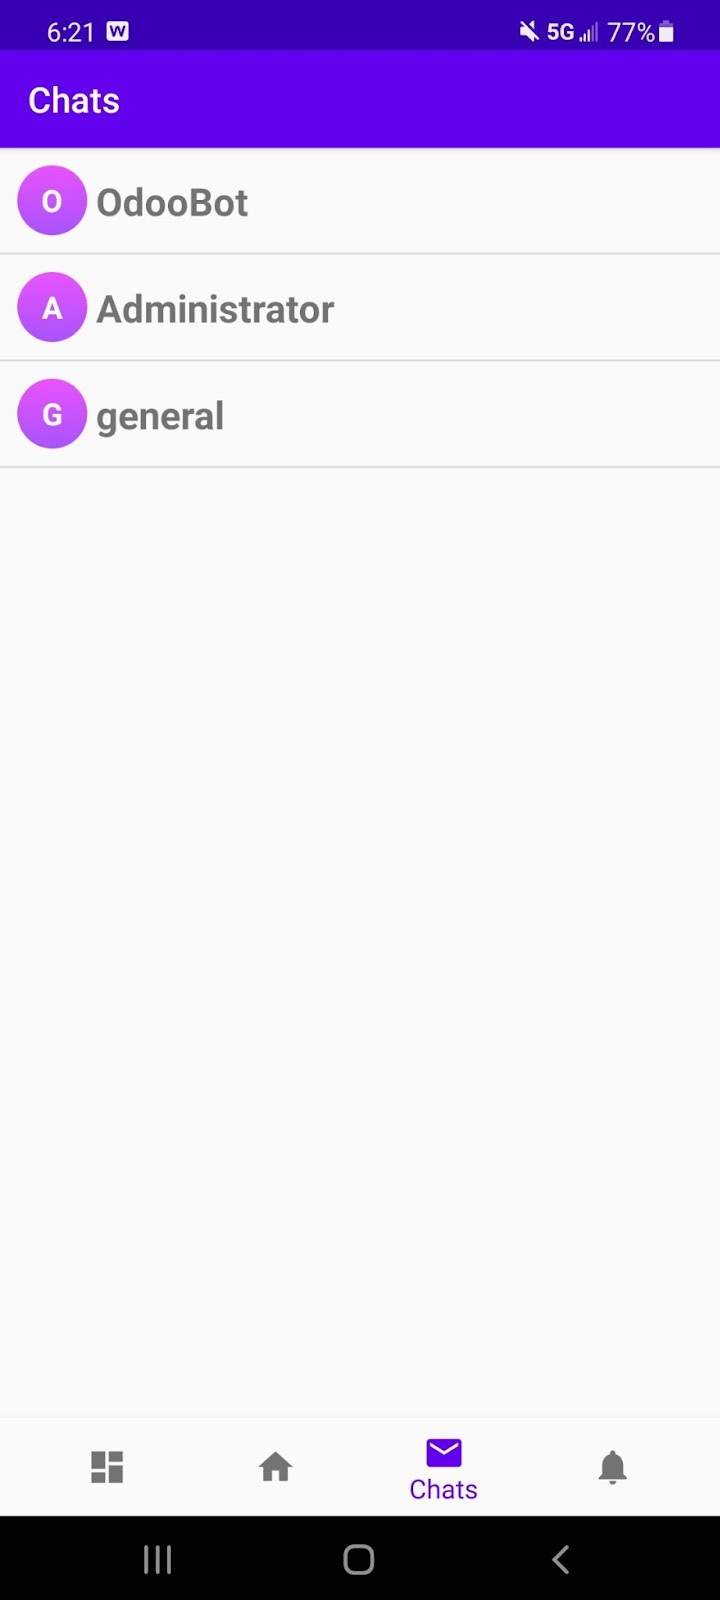
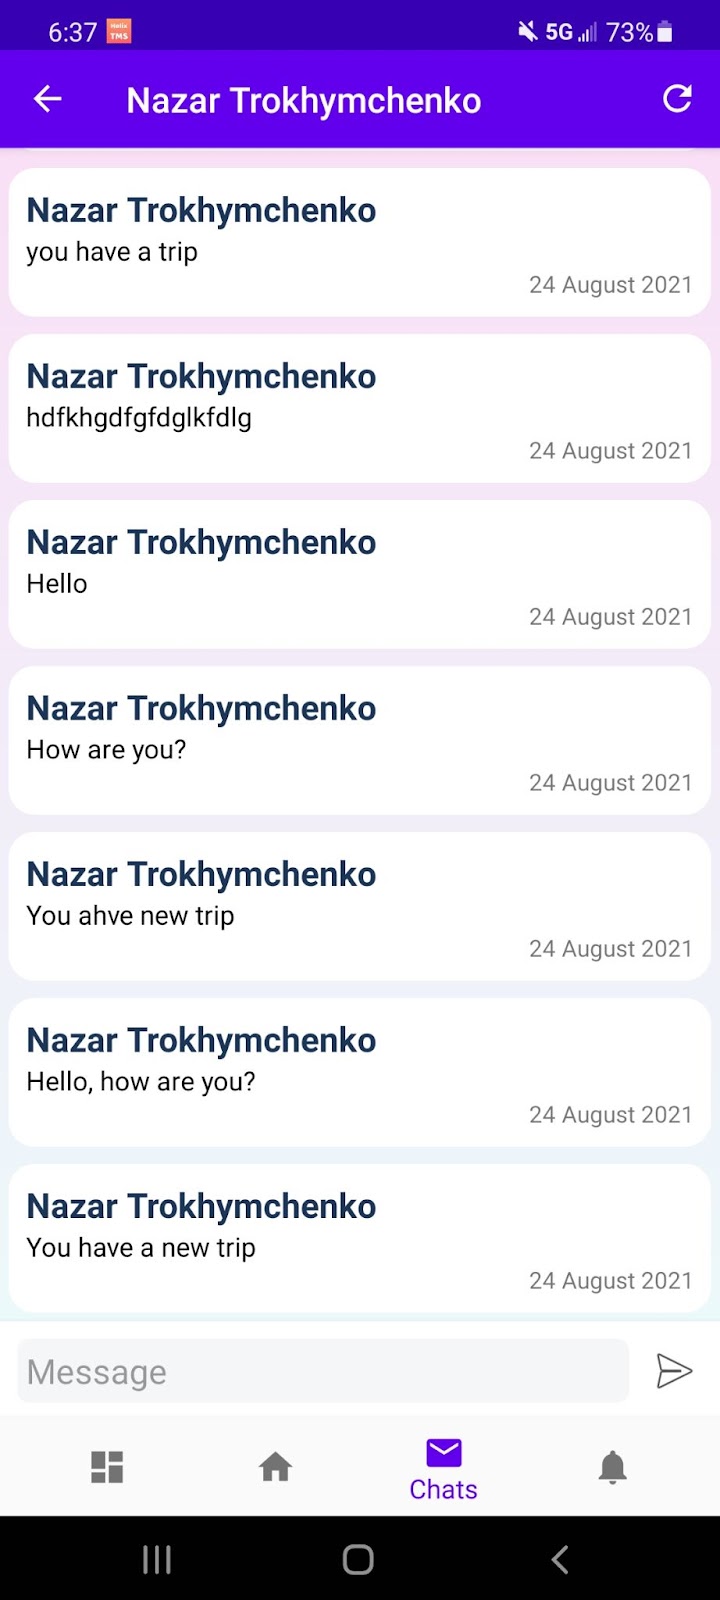
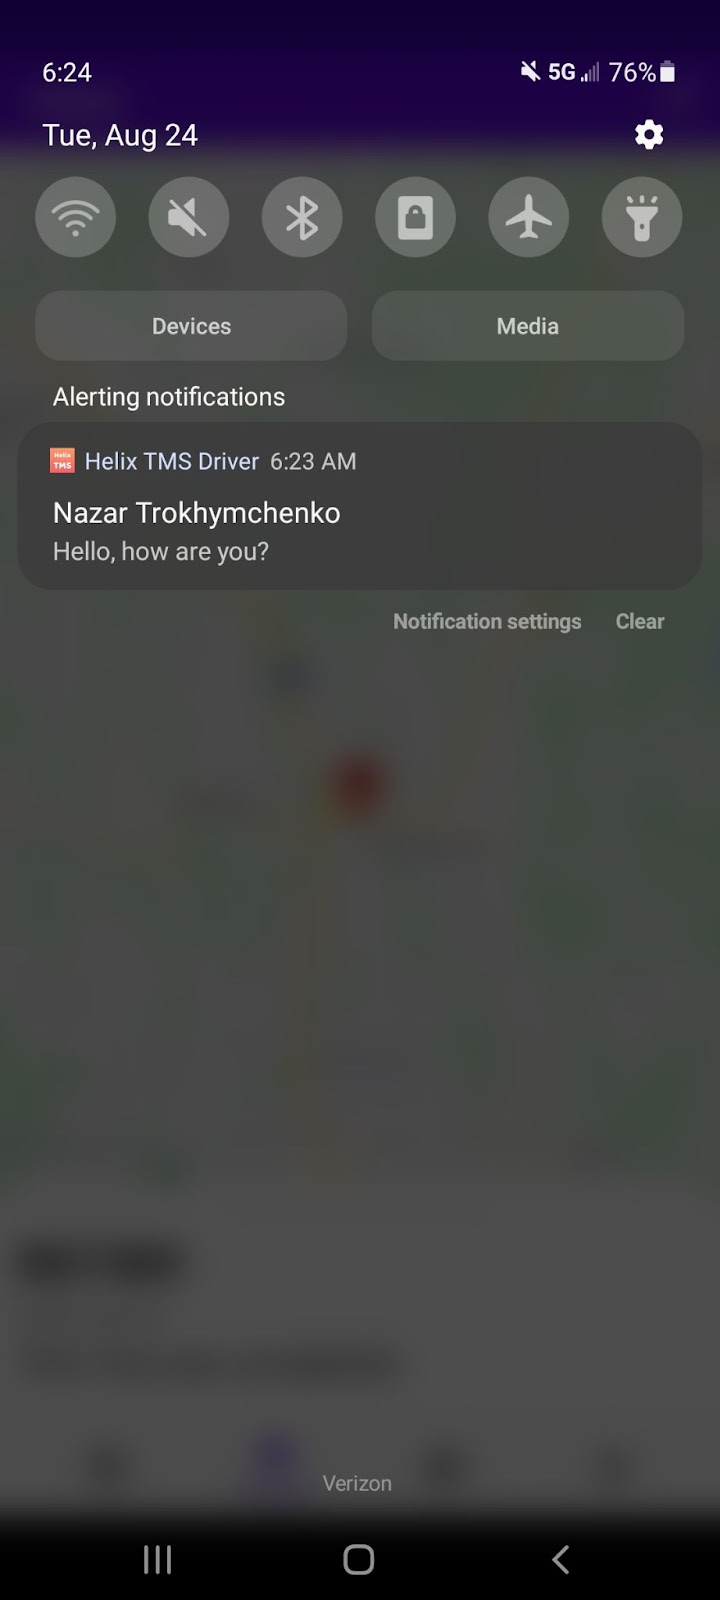
5. Then we have a Chat button. You can have different chat rooms, you can discuss questions with your Dispatcher using chat. Also you get notifications if you get a new message.
6. Phone Directory:
The Phone Directory contains critical phone numbers that drivers can quickly access to get in touch with the necessary departments and receive prompt assistance.


II. Trips Workflow
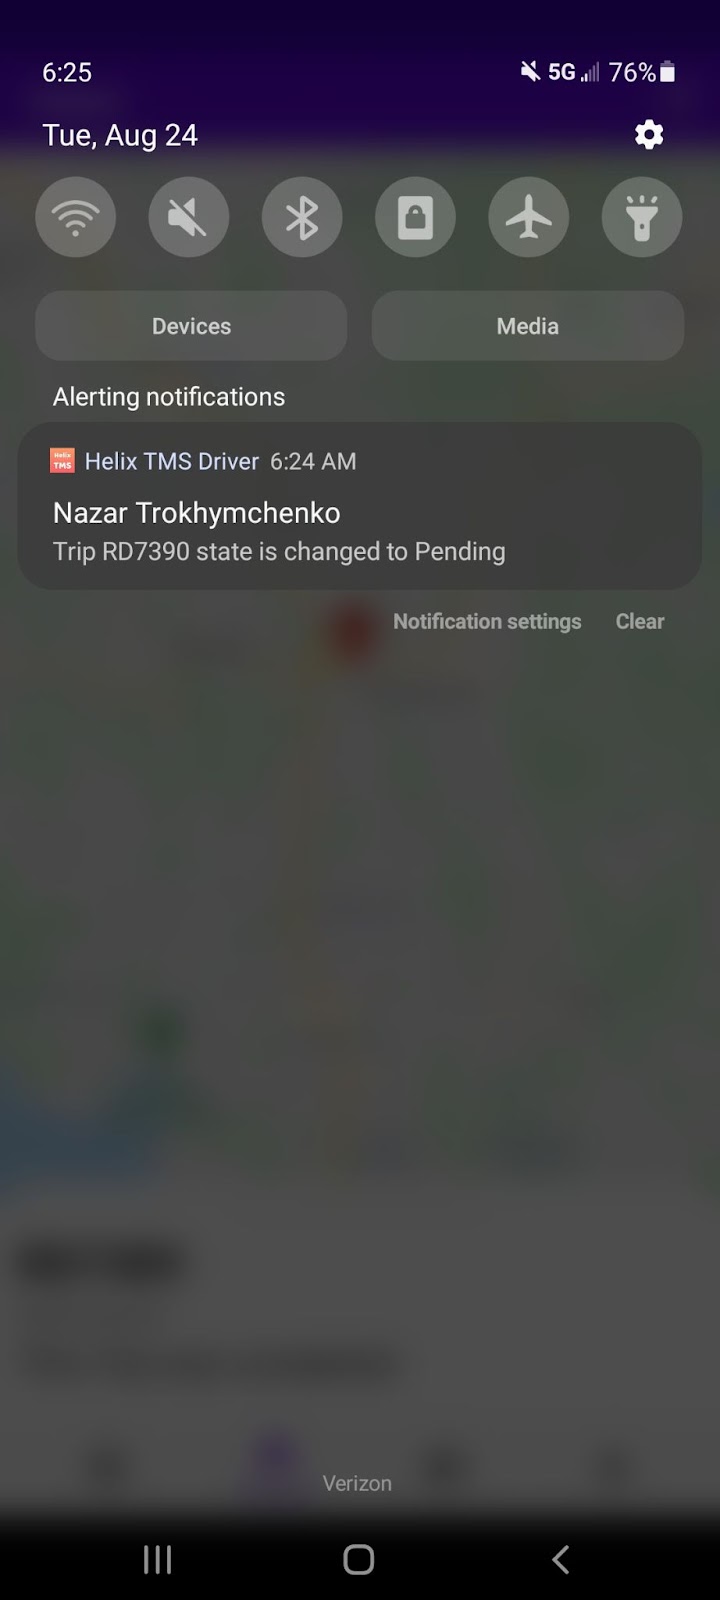
1. When a Trip has been created by the Dispatcher, you will get Notification to your tablet (Or Phone) about the new Trip created.By clicking on the Notification you will be transferred to that trip.
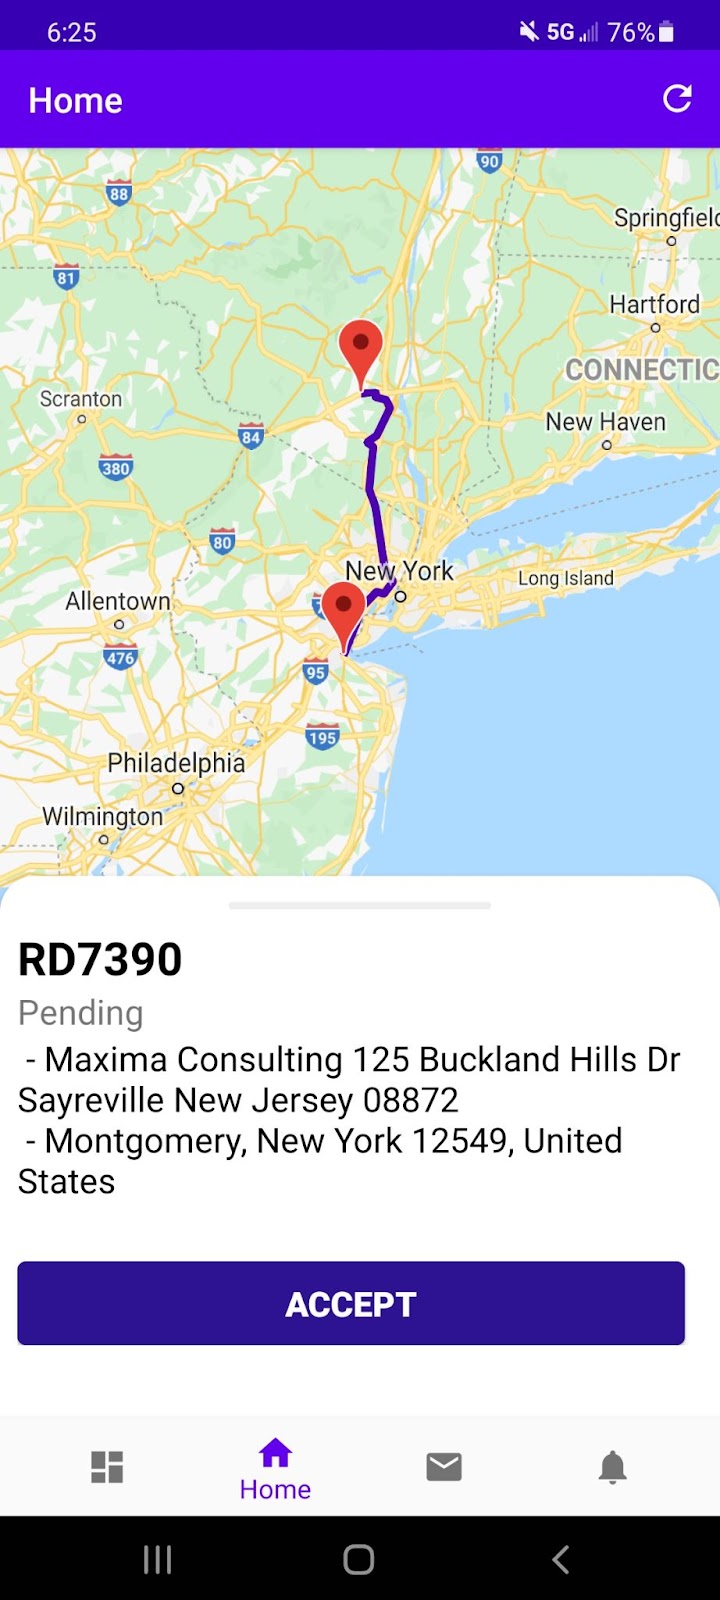
2. Then you can open the application and see: PickUp and delivery points on a map, Trip number, Trip Status and PickUp and Delivery locations. If everything is Correct you need to click the ACCEPT button.
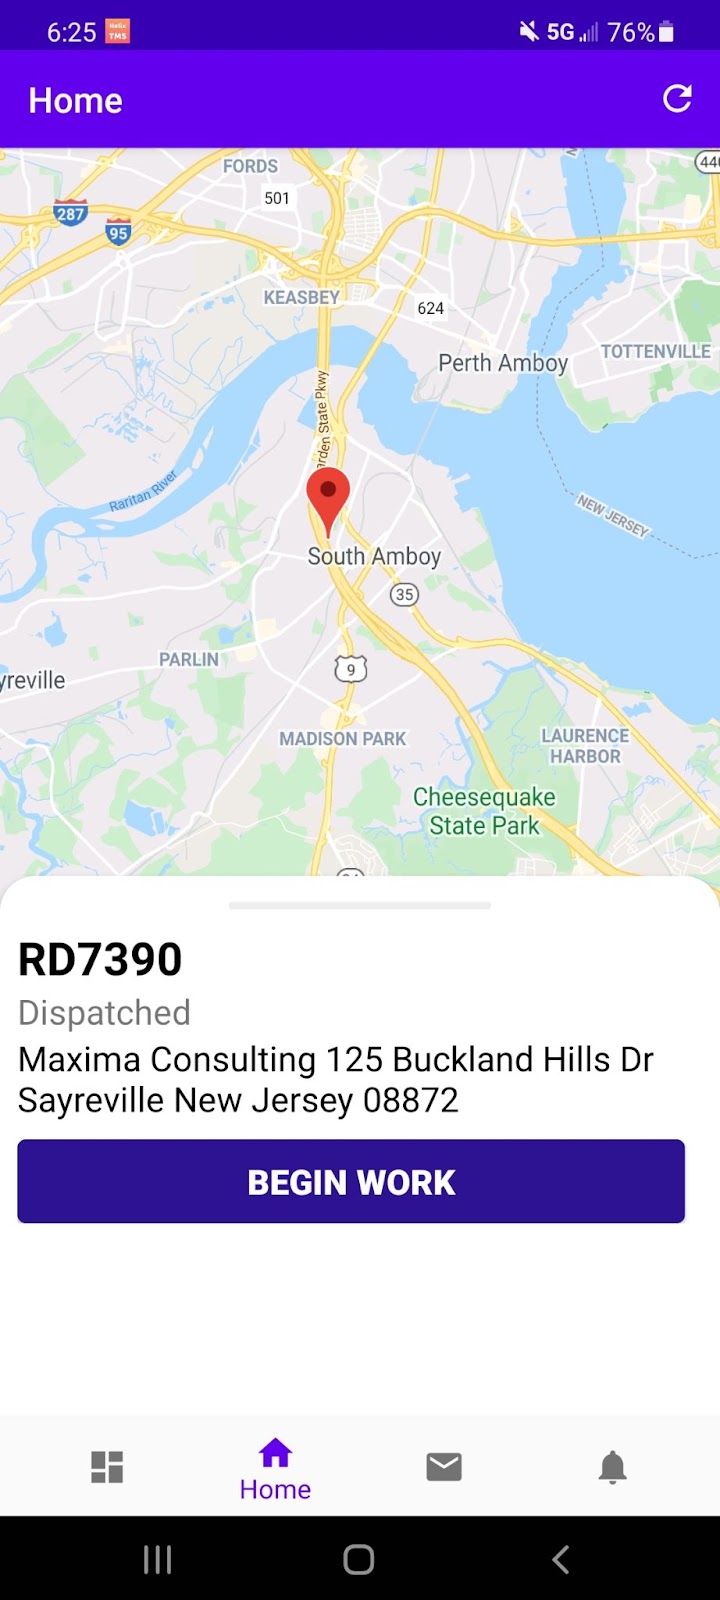
3. You will see a Map with PickUp point, Trip Number, Trip Status, PickUp location. Then if everything is correct click BEGIN WORK when Start driving to the PickUp location.
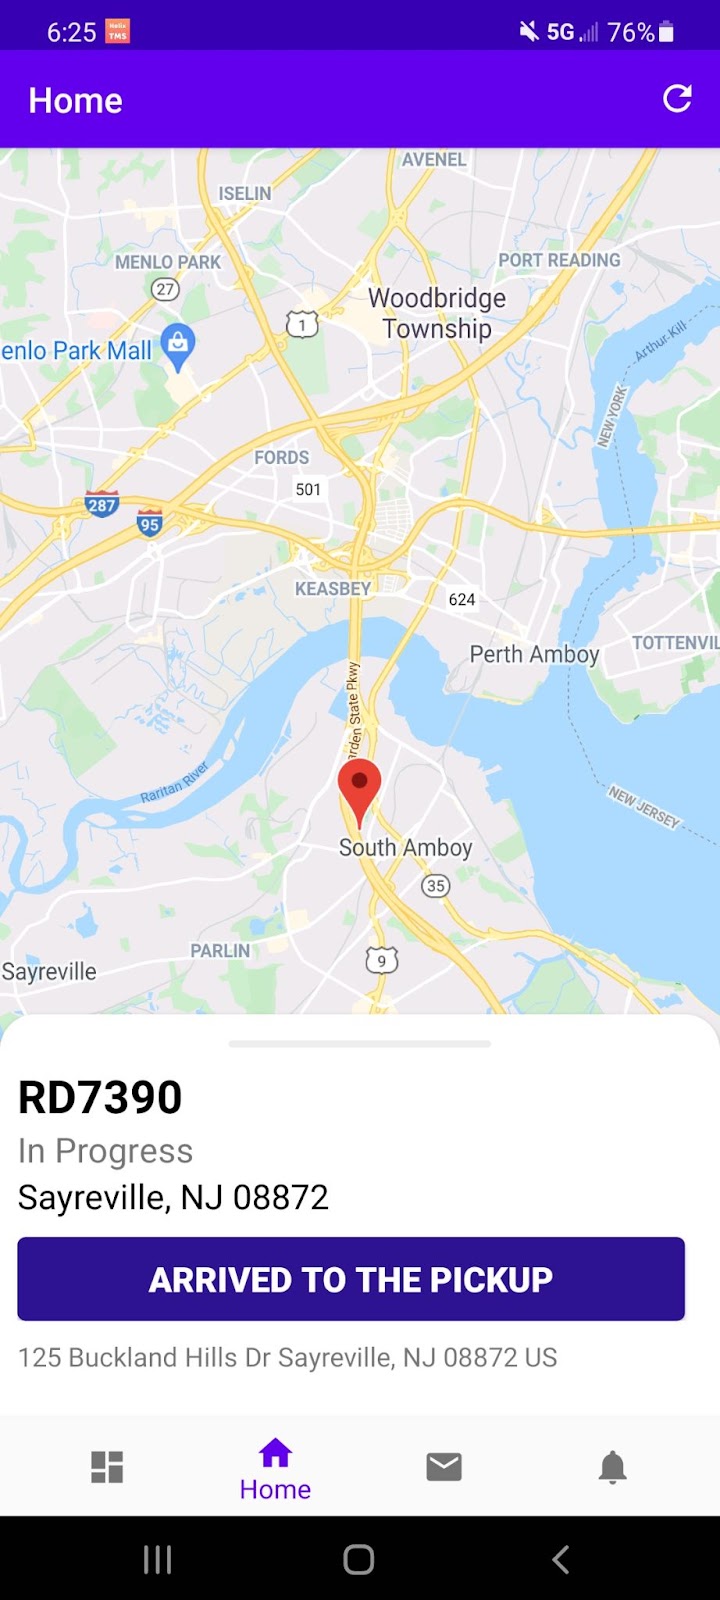
4. On the following screen you can see:
Map with Pick Up pont,
Trip number,
Trip Status,
Location Name,
Address.
After arriving at the PickUp you must click on the ARRIVED TO THE PICKUP button.
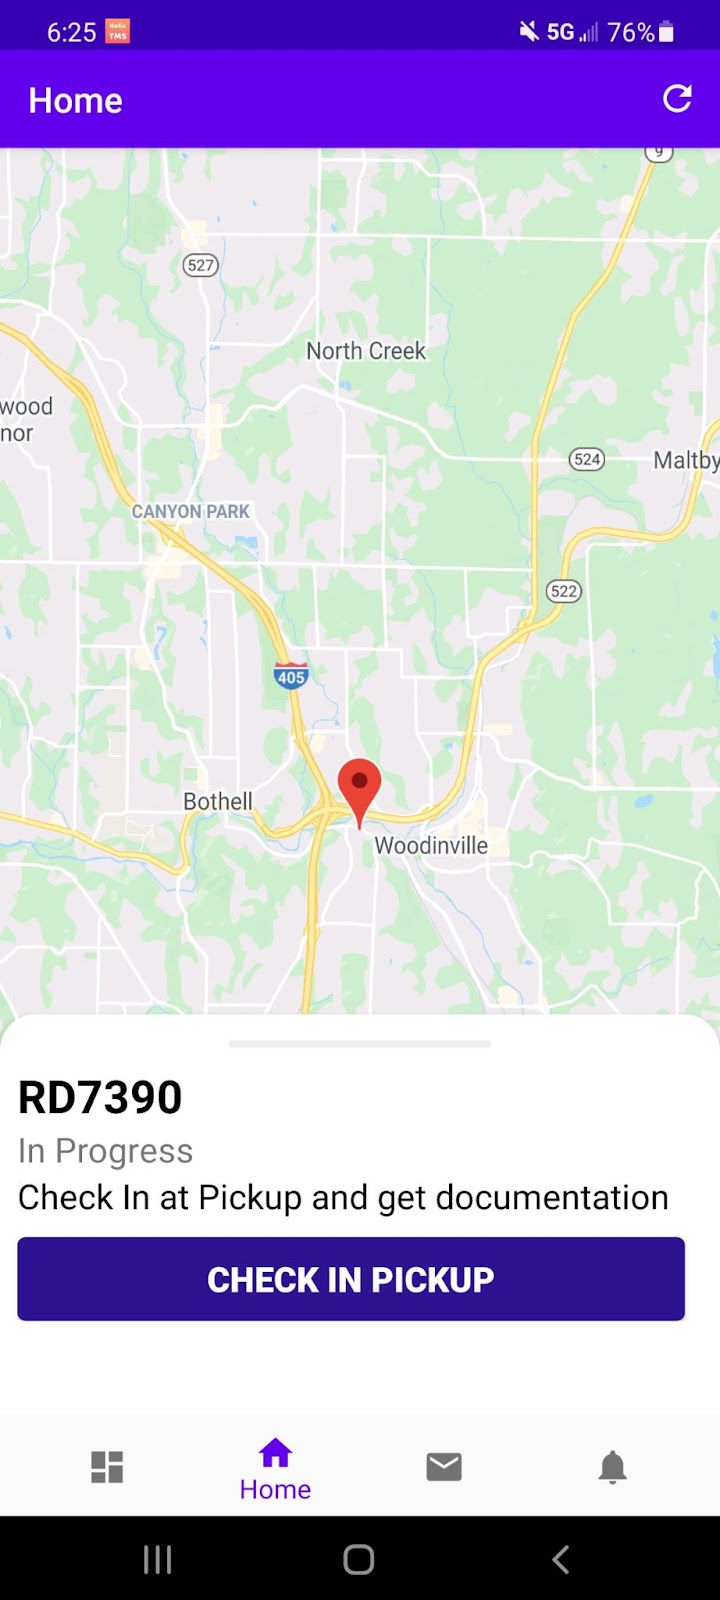
5. After you checked in and got BOL and other documents on the Pickup you should click CHECK IN PICKUP button.
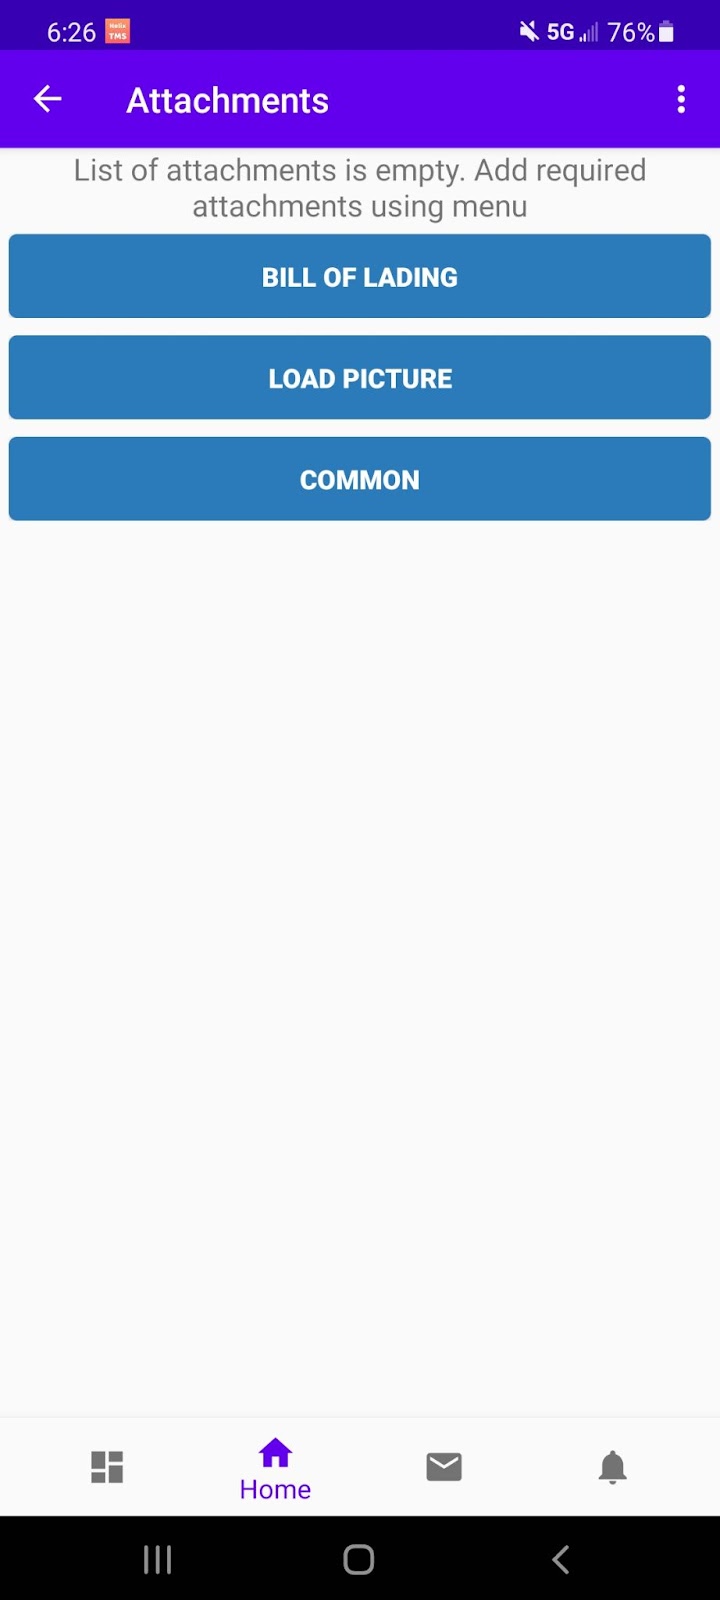
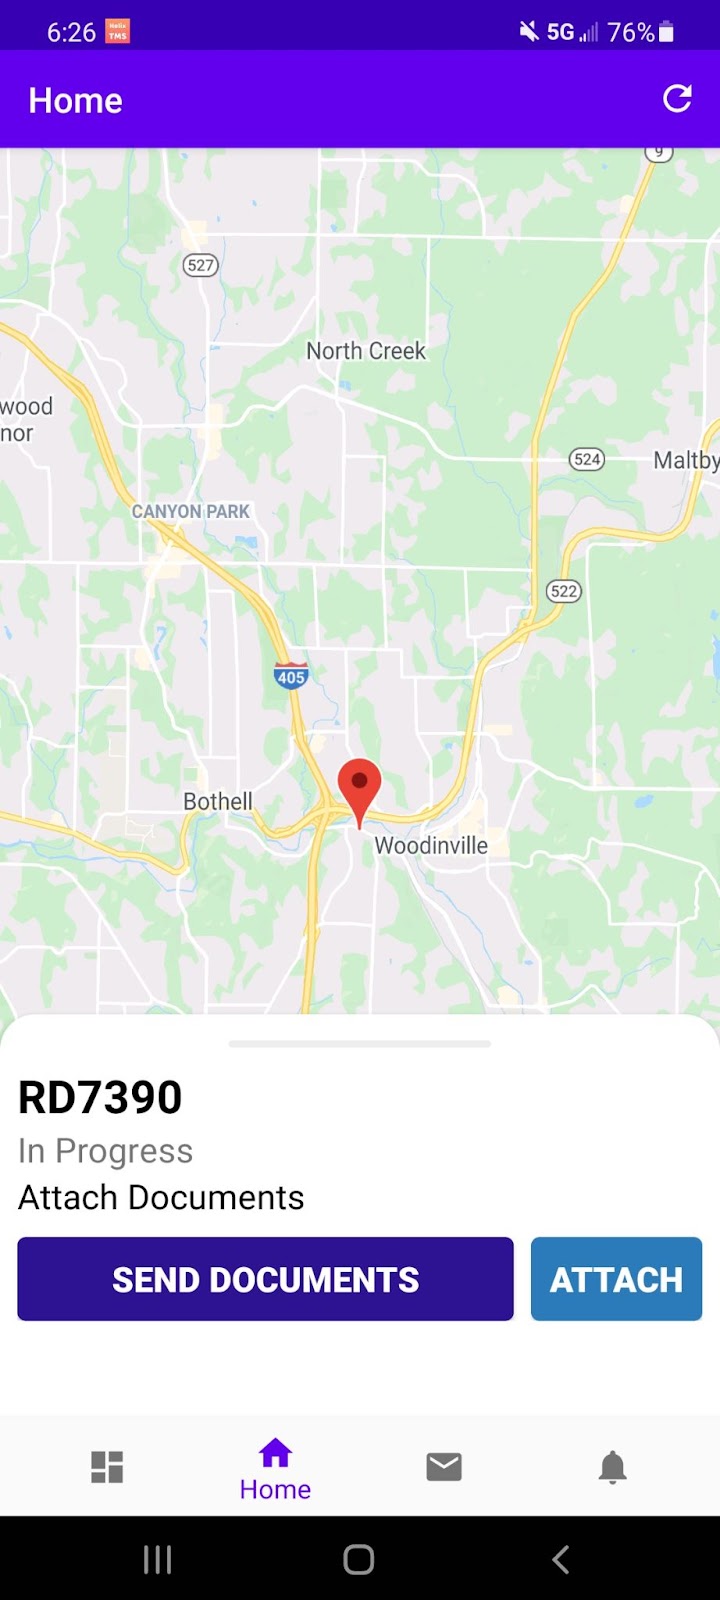
6. On the next screen after you get all documents and Load pictures, you need to click the ATTACH button.

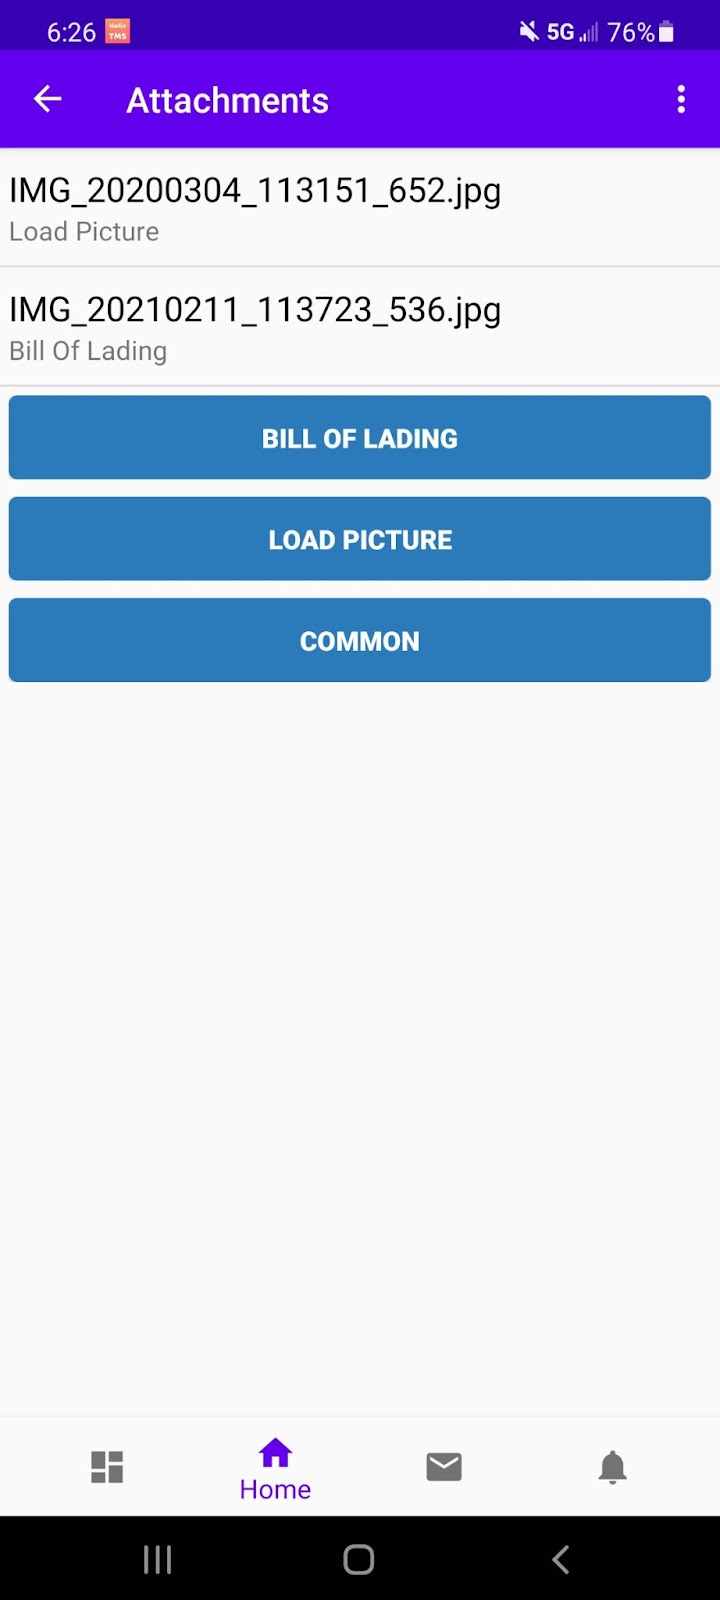
7. On the following screen you should choose Document Type
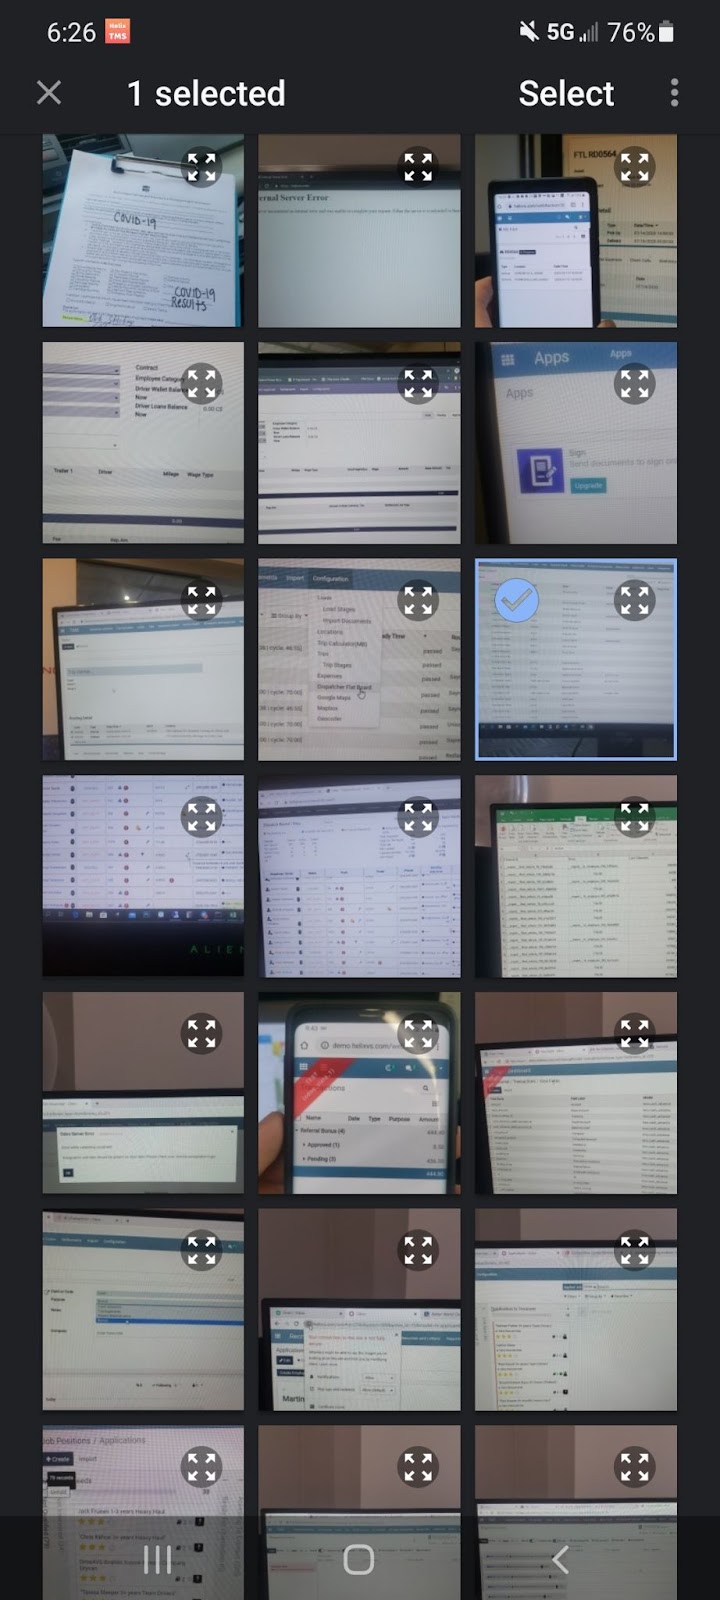
8. Choose document files located in mobile phone
9. After attaching all documents click the BACK button.
10. After attaching all documents click the SEND DOCUMENTS button.
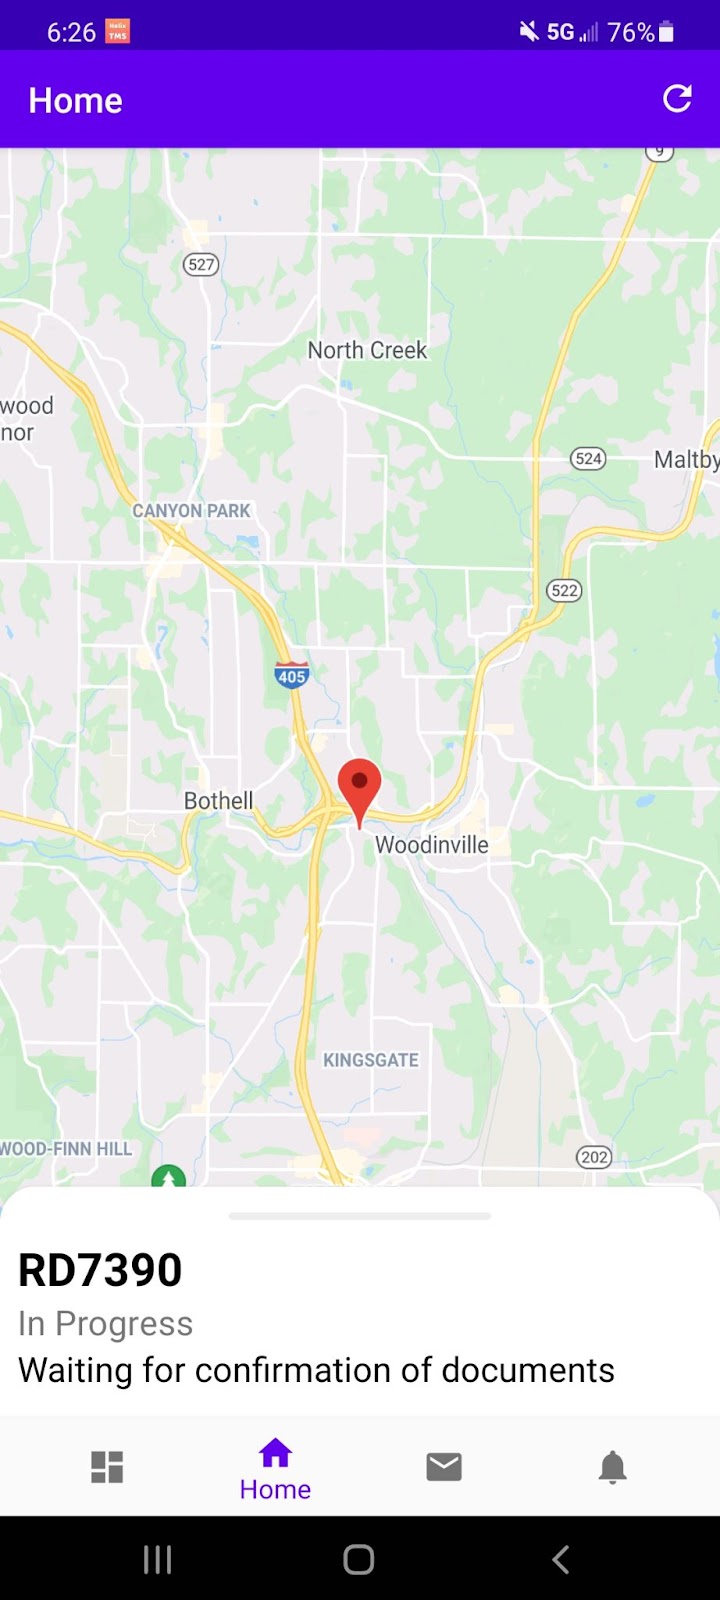
11. On the following screen we can see information that says “Waiting for the Confirmation.
12. After dispatcher approves or declines Documents Driver will get new notification about the status of the Approval.
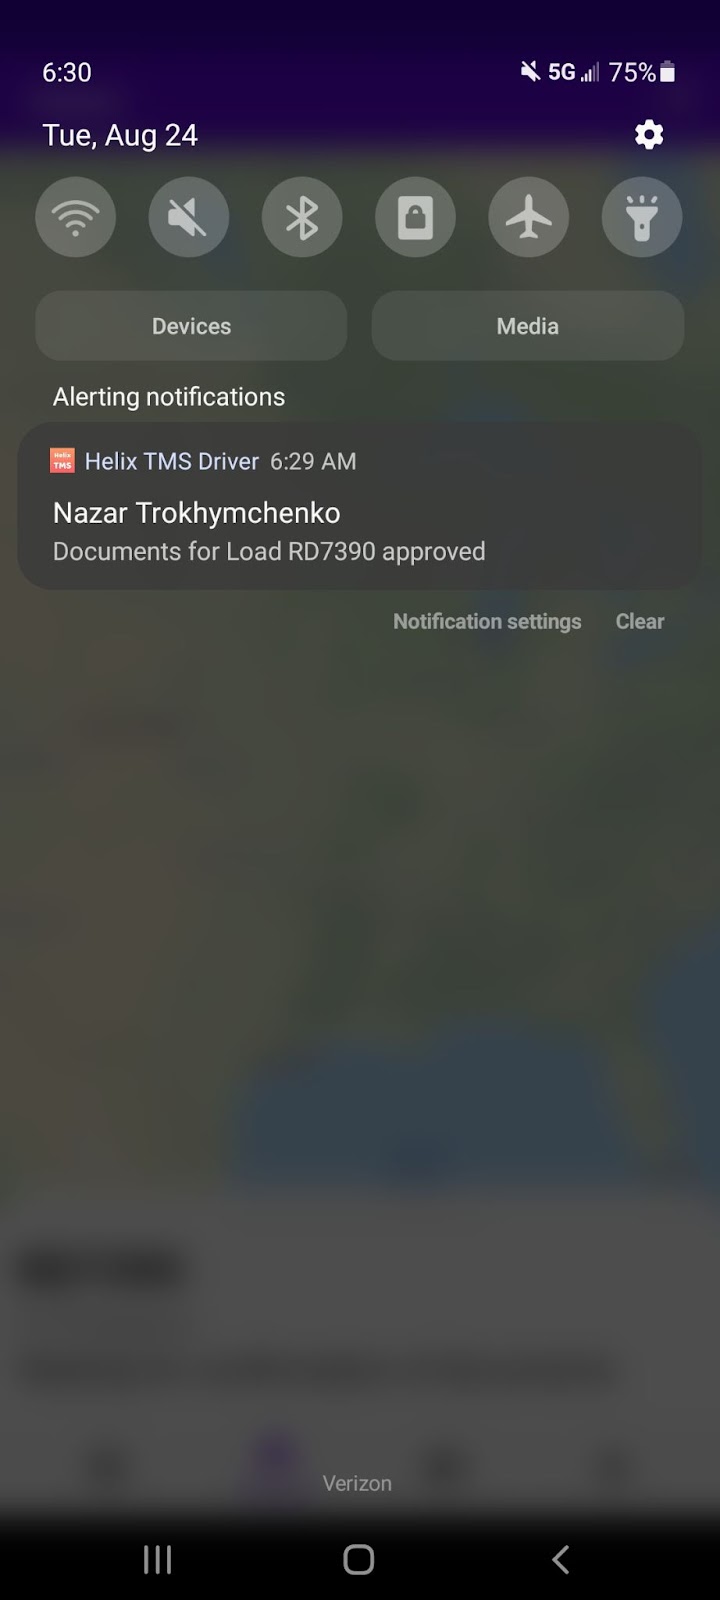
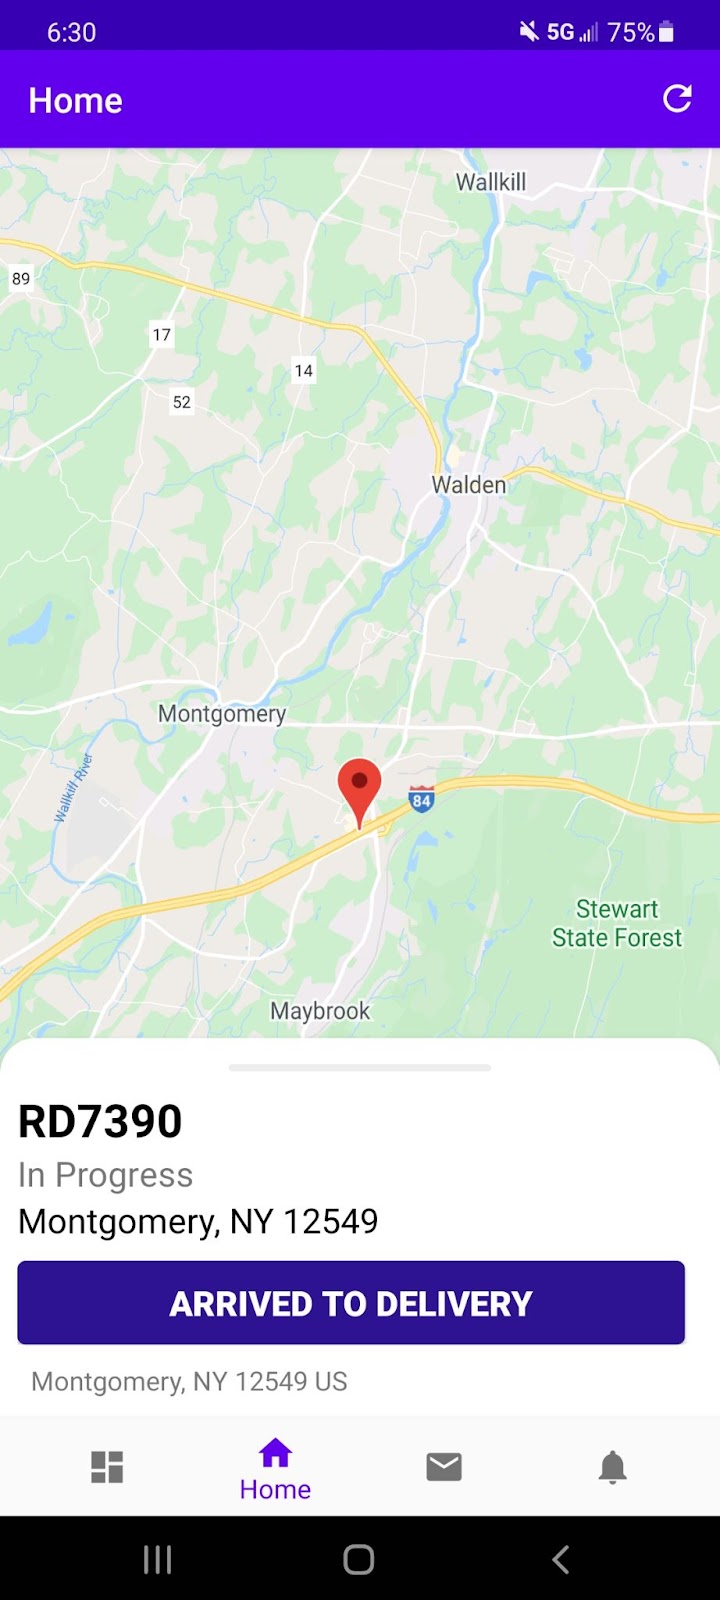
13. After documents approved you will see delivery location, after you arrive to the delivery you should click
ARRIVED TO DELIVERY button.
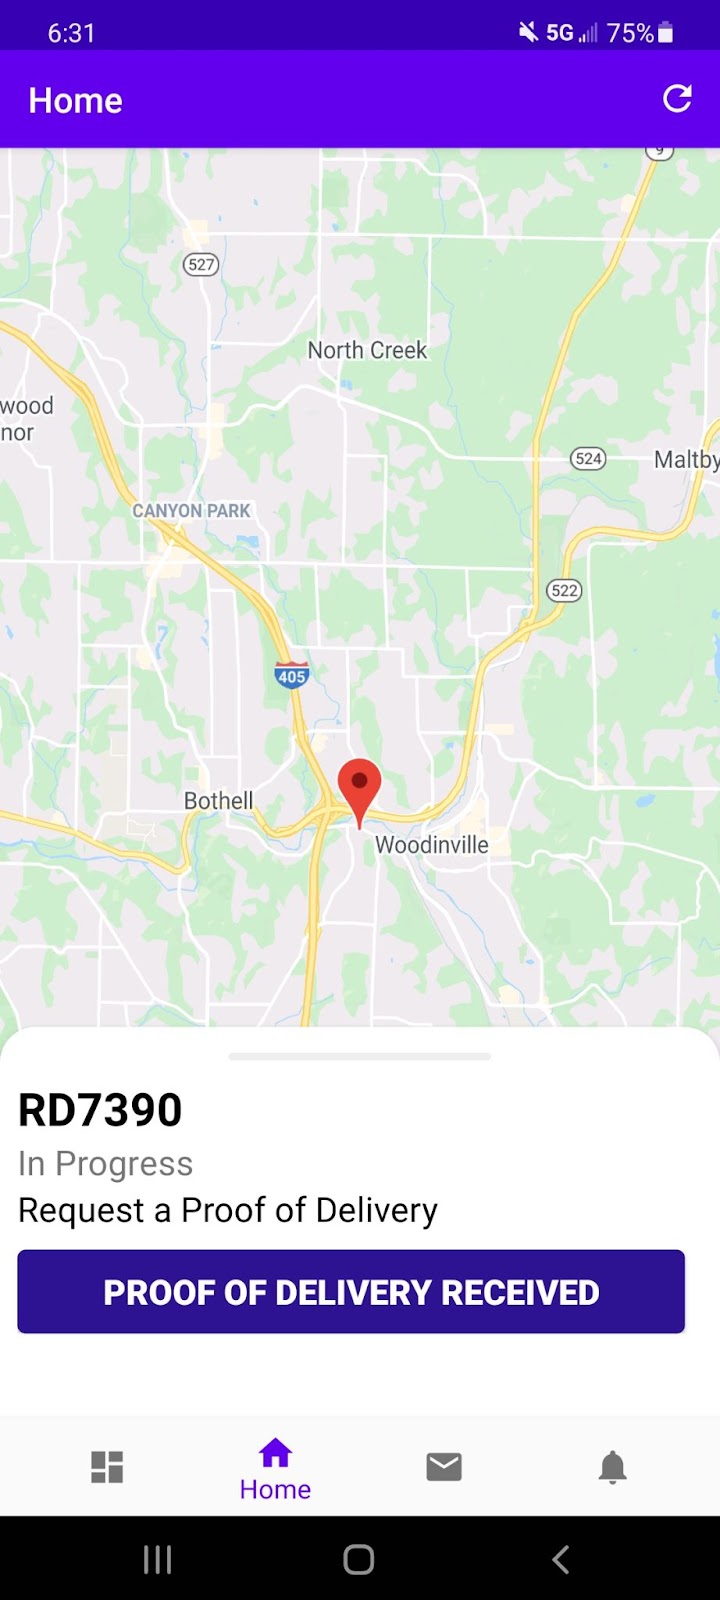
14. After receiving POD document you should click PROOF OF DELIVERY RECEIVED button.
15. On the following screen the driver should click the ATTACH button. Please do the same documents attachments as on the Pick Up

16. After Documents are approved, click FINISH TRIP button.
